


PR-4000 Build Your Own Power Rack (ThreeKit)
SORT BY












FAQ
What do I choose when building a PR-4000 rack?
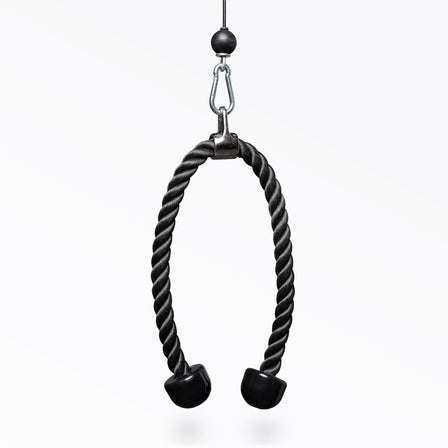
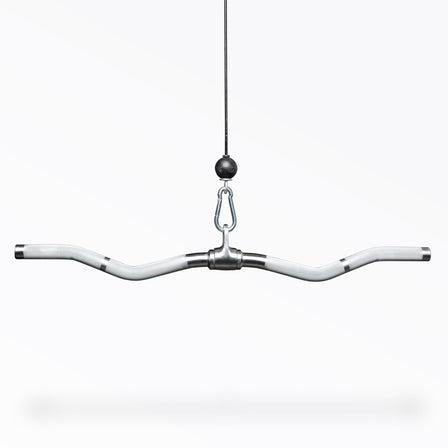
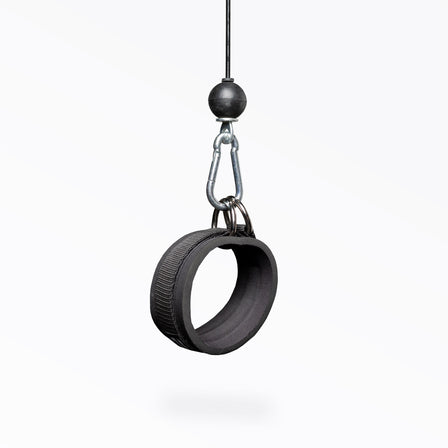
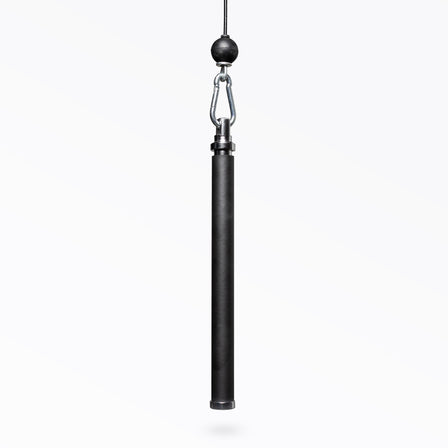
Pick your upright height and rack depth, choose 4-post or 6-post, then select a pull-up bar and safeties; from there, add attachments like a dip station, landmine, weight storage, or cable options (lat/low row, ATHENA®, REP ARES™ 2.0) to fit your training. The PR-4000 ecosystem from REP Fitness is modular, so you can start simple and expand over time; our guide to how to customize your power rack can help you plan.
Should I go with a 4-post or 6-post PR-4000?
A 4-post build saves space and cost, while a 6-post adds dedicated rear storage and more room for attachments, keeping plates organized and your lifting area clear. Choose 6-post if you want built-in storage and extra capacity for future expansion.
Which safeties and pull-up bar should I pick?
Strap safeties protect your bar and reduce noise, flip-downs are fast and rigid, pin-pipe offers basic value, and spotter arms support front-of-rack work; see our safeties comparison guide for a quick rundown. For pull-ups, a 1.25" straight bar is classic, 2" challenges grip, and multi-grip/globe bars add variety and neutral grips.
Will PR-4000 attachments fit other racks?
REP® 4000 Series attachments are designed specifically for the PR-4000, and many are not cross-compatible with other series or brands. Always match the “4000 Series” designation and your rack setup (post count, depth) before adding accessories.
How much space and ceiling height do I need for a PR-4000?How much space and ceiling height do I need for a PR-4000?
Measure ceiling height to ensure headroom for pull-ups and overhead work, and pick an upright height that clears your movements comfortably. Plan floor space for your chosen depth plus barbell and spotter arm clearance, and allow extra room if adding cable systems like a lat/low row, ATHENA®, or REP ARES™ 2.0 from REP.